Ingredients
Equipment
Method
- Preheat your oven to 350°F (no fan) and prepare three 8-inch pans with parchment paper on the bottoms and butter on the sides.
- In a large bowl, combine the sifted flour, baking powder, baking soda, granulated sugar, light brown sugar, and salt. Whisk everything together until no lumps remain.
- In a separate medium bowl, whisk together the eggs, vegetable oil, buttermilk, and sour cream until the mixture is smooth.
- Add the dry ingredients to the wet ingredients in two additions. Gently whisk and fold until they are just combined and only small lumps remain. Be careful not to overmix the Matilda cake batter.
- In a small, separate bowl, add the cocoa powder and instant coffee. Pour the boiling water over them and whisk until a smooth, shiny mixture forms.
- Pour this cocoa mixture into the cake batter. Gently fold it in until a rich chocolate cake batter forms evenly.
- Divide the batter evenly among the three prepared cake pans. I recommend using a kitchen scale for precision.
- Bake for approximately 22-24 minutes, or until a toothpick inserted into the center comes out with light, moist crumbs attached.
- Let the cakes cool in their pans for 20 minutes. Then, carefully remove them and place them on a wire rack to cool completely. For best results, refrigerate the cooled cakes for at least 1 hour.
- To make the frosting, add the dark chocolate and corn syrup to a saucepan. Heat over the lowest flame, stirring constantly, until the chocolate is fully melted and smooth. Set this aside to cool slightly.
- In the bowl of your stand mixer, add the room temperature cream cheese, then sift in the cocoa powder, powdered sugar, and salt. Use the paddle attachment and whisk on medium speed for 1-2 minutes until the mixture becomes creamy. Scrape down the bowl.
- Add the chilled heavy cream to the cream cheese mixture. Whisk again on low speed until a fluffy, whipped consistency is reached. This should not take long; avoid overmixing. Scrape the bowl halfway through.
- At this point, the melted chocolate should be warm and runny, but not hot. Slowly pour it into the frosting mixture while whisking on low speed until the chocolate is fully combined. The frosting will become a more runny consistency due to the warm chocolate.
- Let the frosting cool down until it becomes spreadable. This usually takes about 30 minutes at room temperature, or a shorter time in the fridge. If it becomes too firm, remove 1 cup, microwave it for just a few seconds until warm, and whisk it back into the remaining frosting.
- Once both the cakes and frosting have completely cooled, it's time to assemble your Matilda cake.
- Use a large serrated knife to carefully trim off any domes from the cake layers, creating flat surfaces.
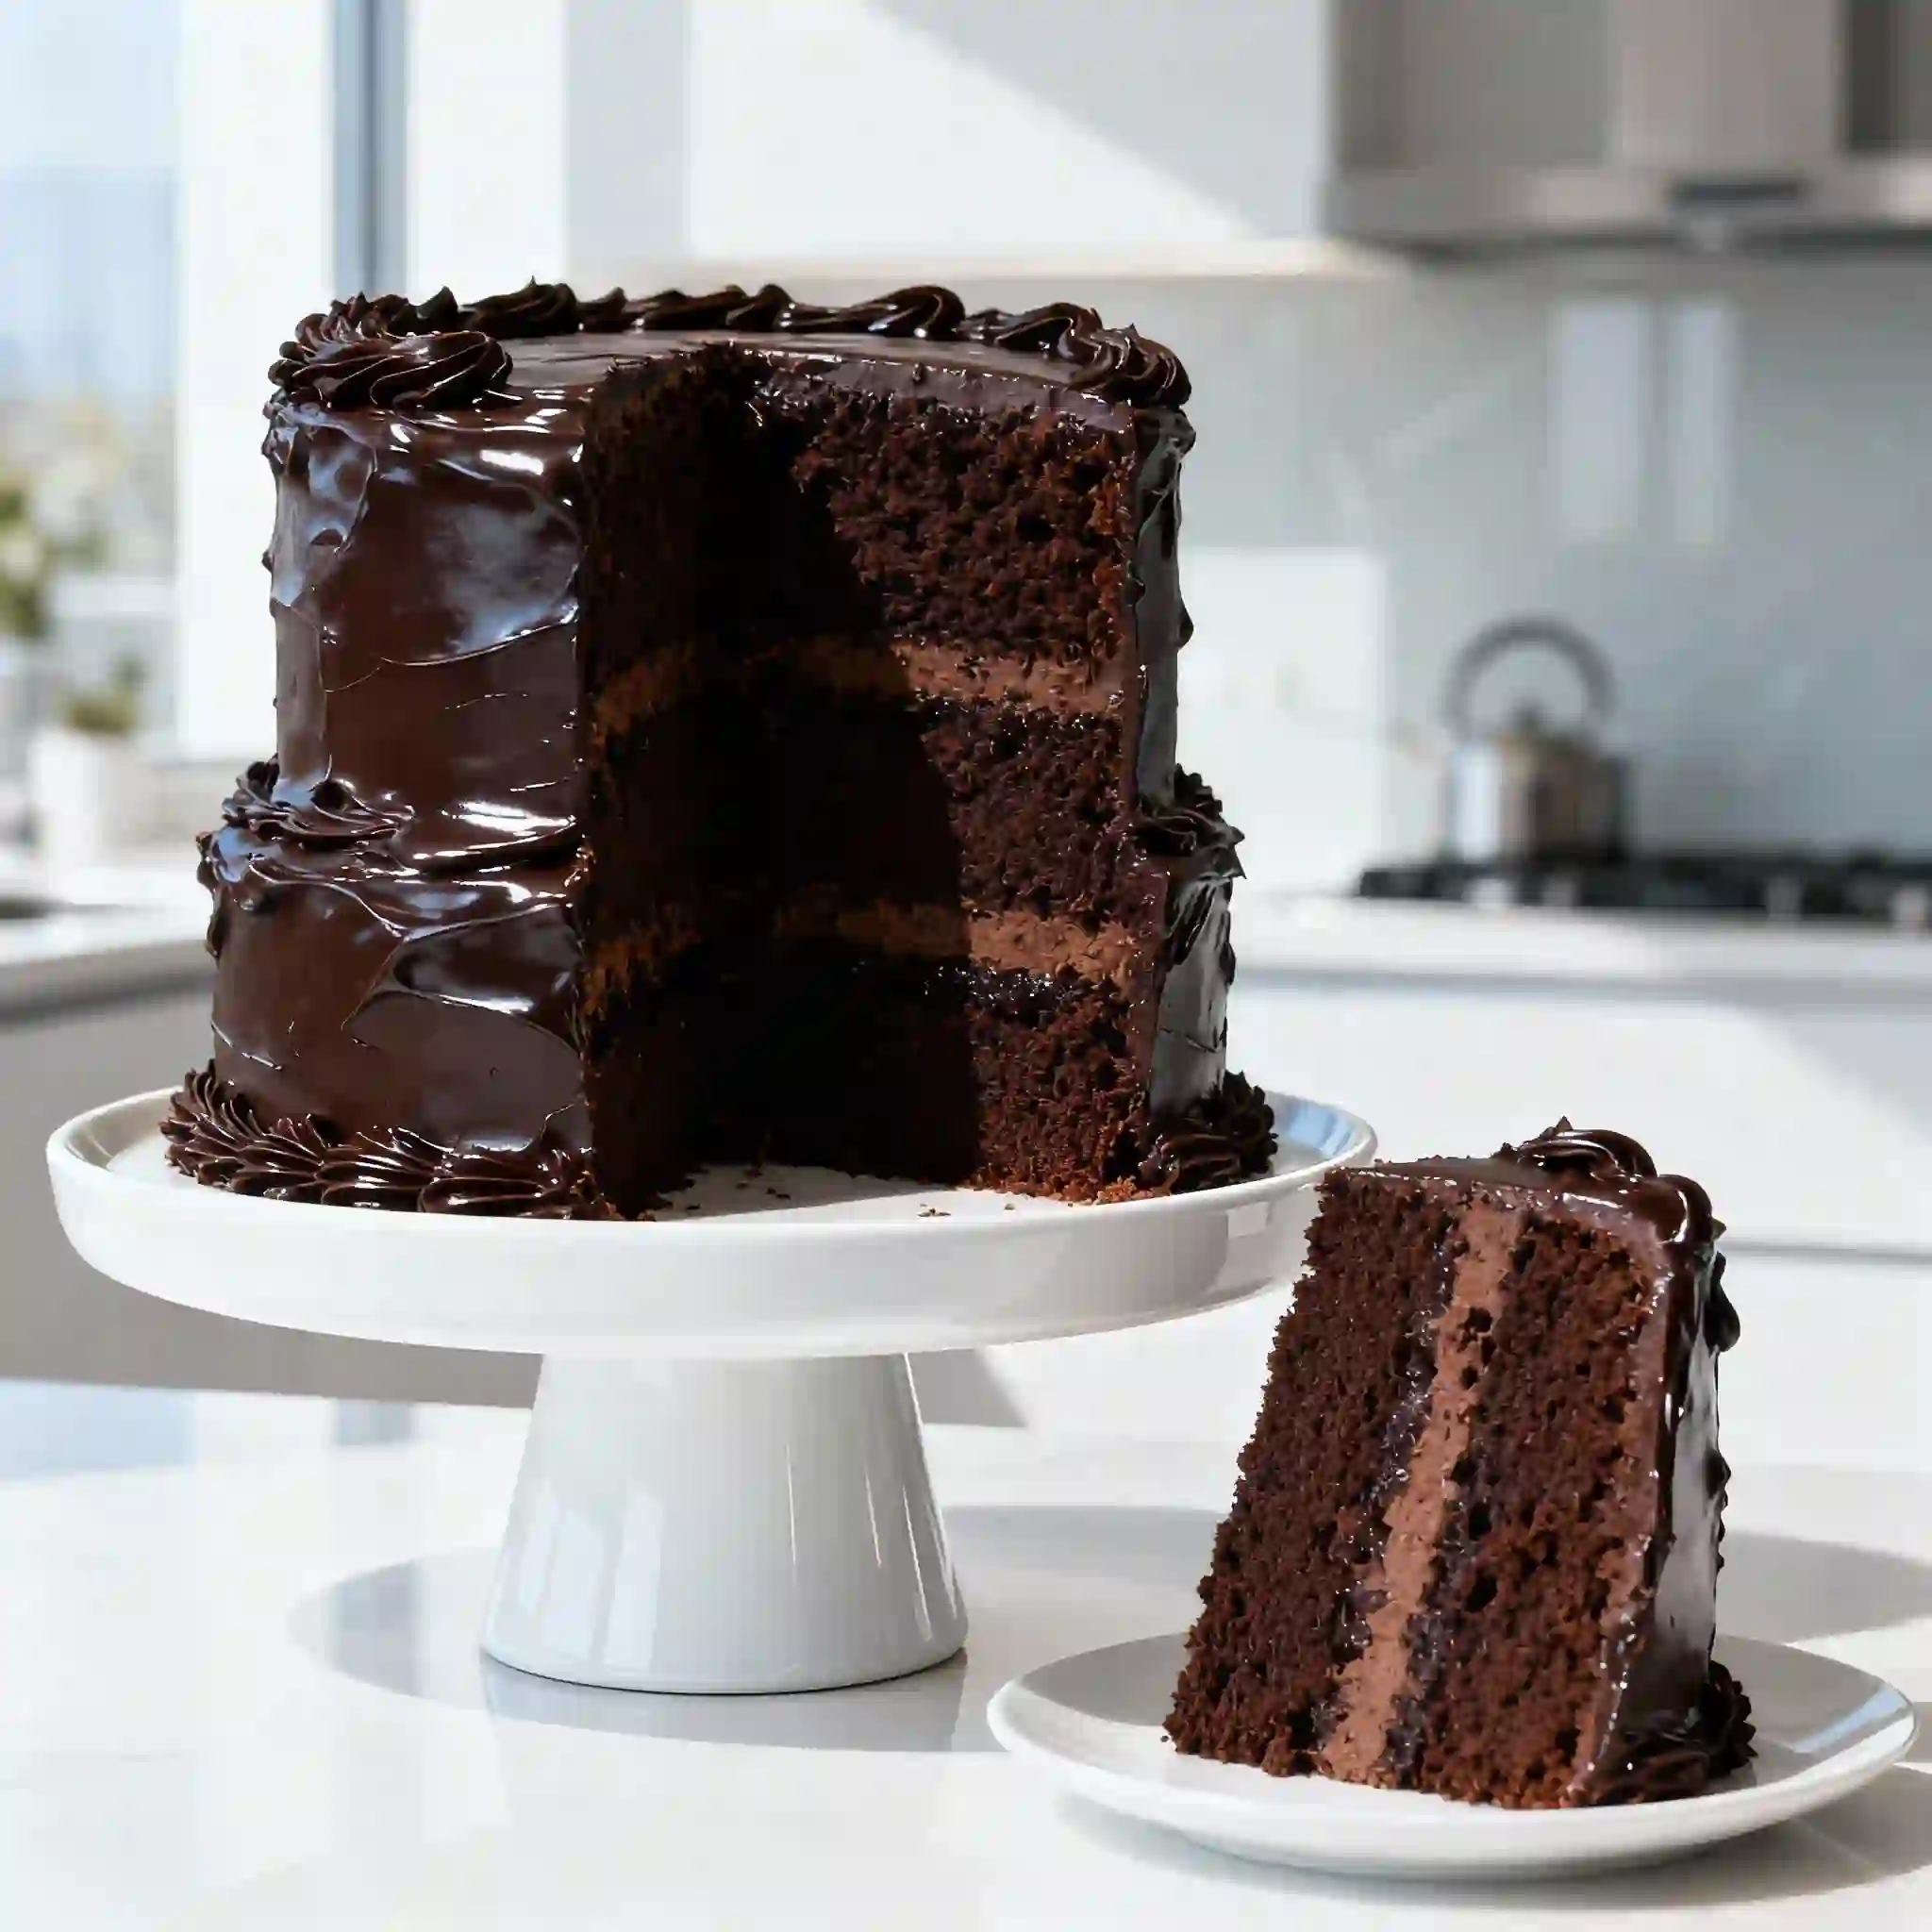
- Layer the cakes, spreading a generous amount of frosting between each layer. Don't be shy! Cover the entire cake with a thin layer of frosting, creating a "crumb coat." Refrigerate for 20 minutes to set.
- Finally, slather on the remaining frosting all over the cake, creating a smooth or textured finish.
- Serve and enjoy! This Matilda cake is best eaten at room temperature.
- Tip: For a beautiful shiny finish, gently wave a blow dryer set to its lowest setting about one foot away from the cake for a few seconds.
Notes
Key Tips for the Perfect Matilda Cake
- Ingredients are Key: Use Dutch-processed cocoa for a rich, dark color and less bitterness. Buttermilk and sour cream are essential for a moist cake, while a little instant coffee deepens the chocolate flavor. Always use room temperature ingredients like eggs and cream cheese for a smoother texture.
- Baking & Assembly: Do not overmix the batter to avoid a tough cake. Cool the cake layers completely before frosting to prevent melting. For even layers, weigh the batter in each pan. If the cake is dry, check for overbaking. If frosting is runny, chill it longer.
- Storage: Store the cake at room temperature for up to 2 days or refrigerated for up to 5 days. You can also freeze individual slices for up to 2 months.
- Variations: For a flavor twist, add almond extract or chocolate chips. To make it gluten-free, use a 1:1 gluten-free flour blend.