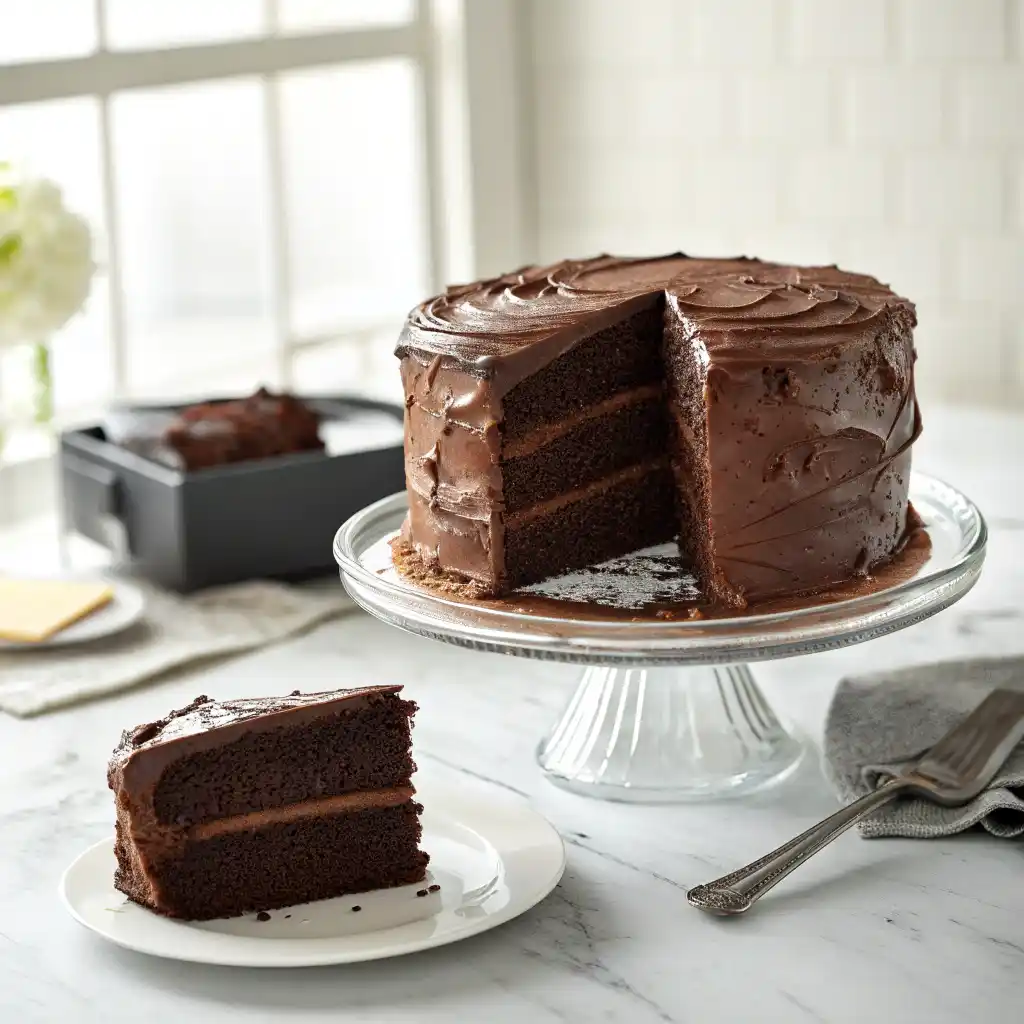
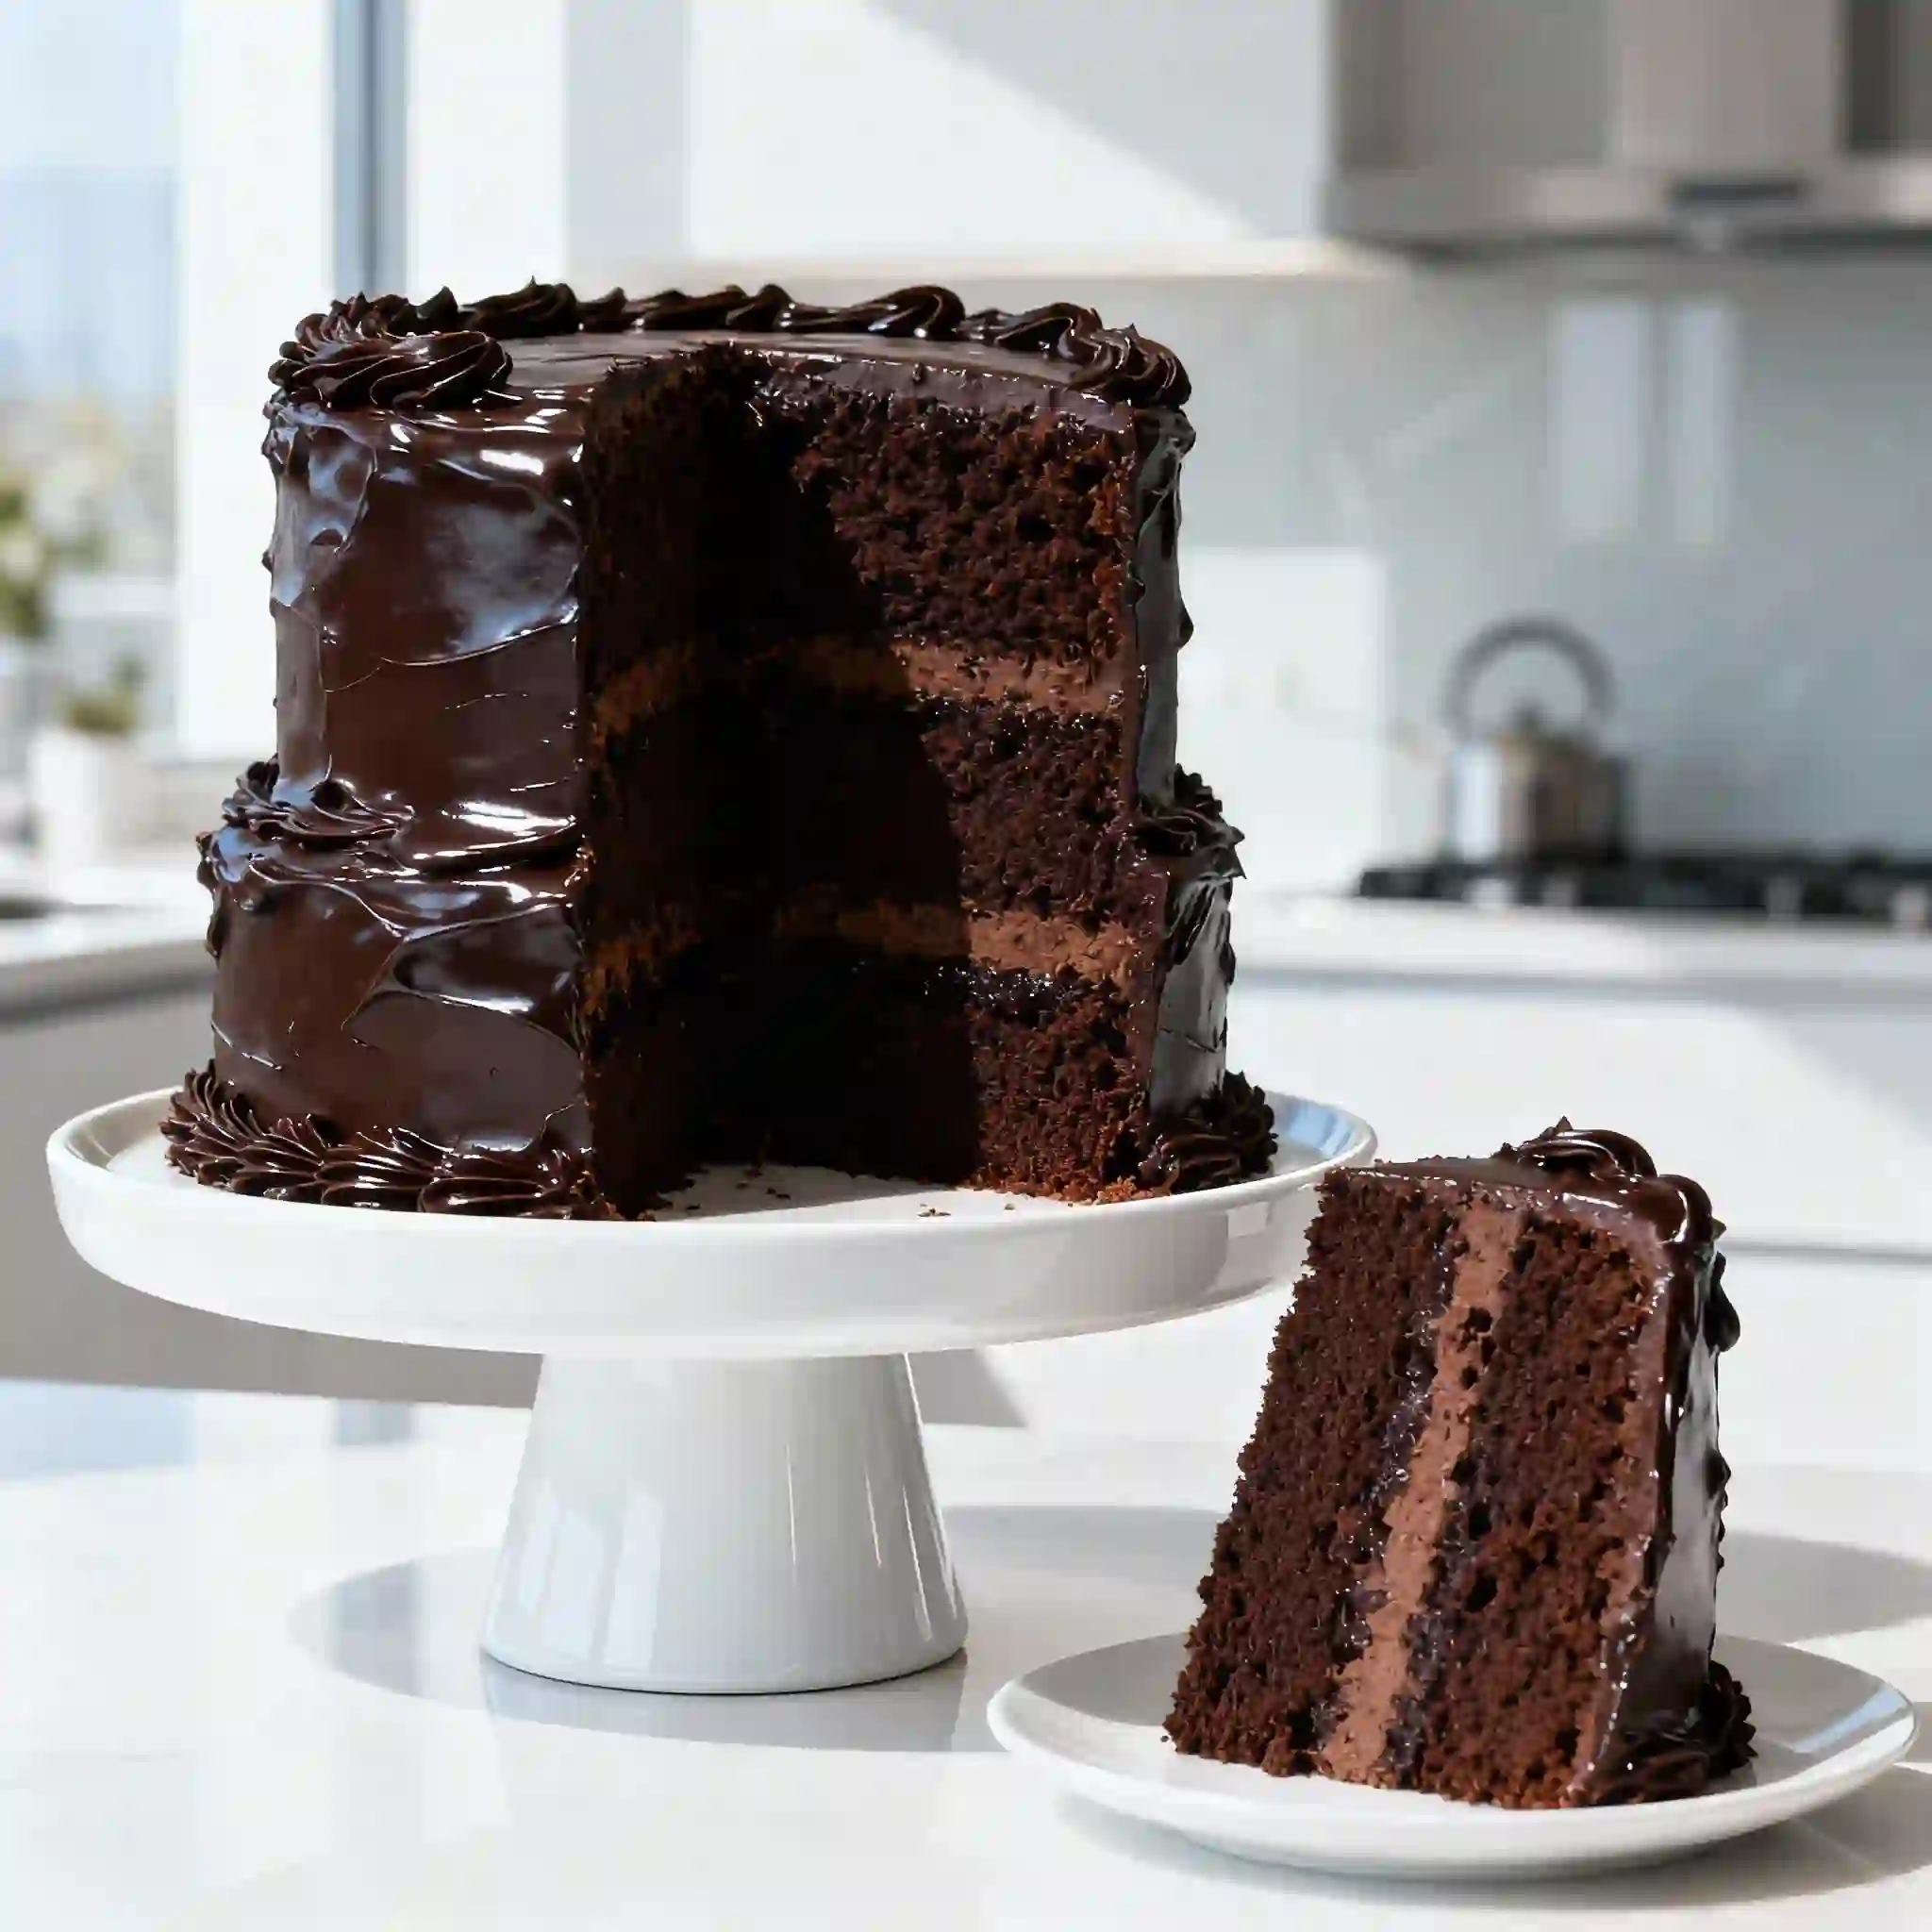
Hi there, fellow baking enthusiasts! It’s Sarah, and I’m beyond excited to share a recipe that brings so much joy and a touch of cinematic magic to our kitchens: the incredible Matilda cake. This isn’t just any chocolate cake; it’s the rich, fudgy, dream-come-true dessert that captures hearts. Get ready to dive into an indulgent experience that takes about two hours of hands-on time, plus crucial cooling, to create this iconic Matilda cake right in your home.
Table of Contents
The Iconic Story of Matilda Cake
The Matilda cake holds a special place in popular culture, thanks to the beloved 1996 movie “Matilda.” Who could forget the scene where young Bruce Bogtrotter bravely devours an enormous chocolate cake, cheered on by his classmates? That moment solidified this dessert as a symbol of indulgence, defiance, and childhood nostalgia. It’s more than just a cake; it’s a story, a challenge, and a deeply satisfying treat. This recipe aims to recreate that viral magic, delivering a chocolate cake that’s rich, dark, and utterly unforgettable, just like the one from the movie.
Why You’ll Love This Homemade Matilda Cake
This isn’t just a recipe; it’s your ticket to recreating a truly legendary dessert. You’ll absolutely adore this homemade Matilda cake for several irresistible reasons. If you love baking and exploring more delectable desserts and treats, this cake is a must-try.
- Unmatched Moisture: My recipe guarantees an incredibly moist crumb every single time. Ingredients like buttermilk, sour cream, and oil work together to create a tender, luscious texture that simply melts in your mouth.
- Intense Chocolate Flavor: We use Dutch-processed cocoa and instant coffee to deepen the chocolate notes. This combination creates a rich, complex flavor that is dark, profound, and wonderfully satisfying without being overly sweet.
- Perfect Fudge Frosting: The frosting is a creamy, dreamy ganache-like masterpiece. It strikes the ideal balance between fudgy richness and silky smoothness, making every bite of this Matilda cake pure bliss.
The Ultimate Matilda Cake Recipe
Ingredients
Equipment
Method
- Preheat your oven to 350°F (no fan) and prepare three 8-inch pans with parchment paper on the bottoms and butter on the sides.
- In a large bowl, combine the sifted flour, baking powder, baking soda, granulated sugar, light brown sugar, and salt. Whisk everything together until no lumps remain.
- In a separate medium bowl, whisk together the eggs, vegetable oil, buttermilk, and sour cream until the mixture is smooth.
- Add the dry ingredients to the wet ingredients in two additions. Gently whisk and fold until they are just combined and only small lumps remain. Be careful not to overmix the Matilda cake batter.
- In a small, separate bowl, add the cocoa powder and instant coffee. Pour the boiling water over them and whisk until a smooth, shiny mixture forms.
- Pour this cocoa mixture into the cake batter. Gently fold it in until a rich chocolate cake batter forms evenly.
- Divide the batter evenly among the three prepared cake pans. I recommend using a kitchen scale for precision.
- Bake for approximately 22-24 minutes, or until a toothpick inserted into the center comes out with light, moist crumbs attached.
- Let the cakes cool in their pans for 20 minutes. Then, carefully remove them and place them on a wire rack to cool completely. For best results, refrigerate the cooled cakes for at least 1 hour.
- To make the frosting, add the dark chocolate and corn syrup to a saucepan. Heat over the lowest flame, stirring constantly, until the chocolate is fully melted and smooth. Set this aside to cool slightly.
- In the bowl of your stand mixer, add the room temperature cream cheese, then sift in the cocoa powder, powdered sugar, and salt. Use the paddle attachment and whisk on medium speed for 1-2 minutes until the mixture becomes creamy. Scrape down the bowl.
- Add the chilled heavy cream to the cream cheese mixture. Whisk again on low speed until a fluffy, whipped consistency is reached. This should not take long; avoid overmixing. Scrape the bowl halfway through.
- At this point, the melted chocolate should be warm and runny, but not hot. Slowly pour it into the frosting mixture while whisking on low speed until the chocolate is fully combined. The frosting will become a more runny consistency due to the warm chocolate.
- Let the frosting cool down until it becomes spreadable. This usually takes about 30 minutes at room temperature, or a shorter time in the fridge. If it becomes too firm, remove 1 cup, microwave it for just a few seconds until warm, and whisk it back into the remaining frosting.
- Once both the cakes and frosting have completely cooled, it’s time to assemble your Matilda cake.
- Use a large serrated knife to carefully trim off any domes from the cake layers, creating flat surfaces.
- Layer the cakes, spreading a generous amount of frosting between each layer. Don’t be shy! Cover the entire cake with a thin layer of frosting, creating a “crumb coat.” Refrigerate for 20 minutes to set.
- Finally, slather on the remaining frosting all over the cake, creating a smooth or textured finish.
- Serve and enjoy! This Matilda cake is best eaten at room temperature.
- Tip: For a beautiful shiny finish, gently wave a blow dryer set to its lowest setting about one foot away from the cake for a few seconds.
Notes
- Ingredients are Key: Use Dutch-processed cocoa for a rich, dark color and less bitterness. Buttermilk and sour cream are essential for a moist cake, while a little instant coffee deepens the chocolate flavor. Always use room temperature ingredients like eggs and cream cheese for a smoother texture.
- Baking & Assembly: Do not overmix the batter to avoid a tough cake. Cool the cake layers completely before frosting to prevent melting. For even layers, weigh the batter in each pan. If the cake is dry, check for overbaking. If frosting is runny, chill it longer.
- Storage: Store the cake at room temperature for up to 2 days or refrigerated for up to 5 days. You can also freeze individual slices for up to 2 months.
- Variations: For a flavor twist, add almond extract or chocolate chips. To make it gluten-free, use a 1:1 gluten-free flour blend.
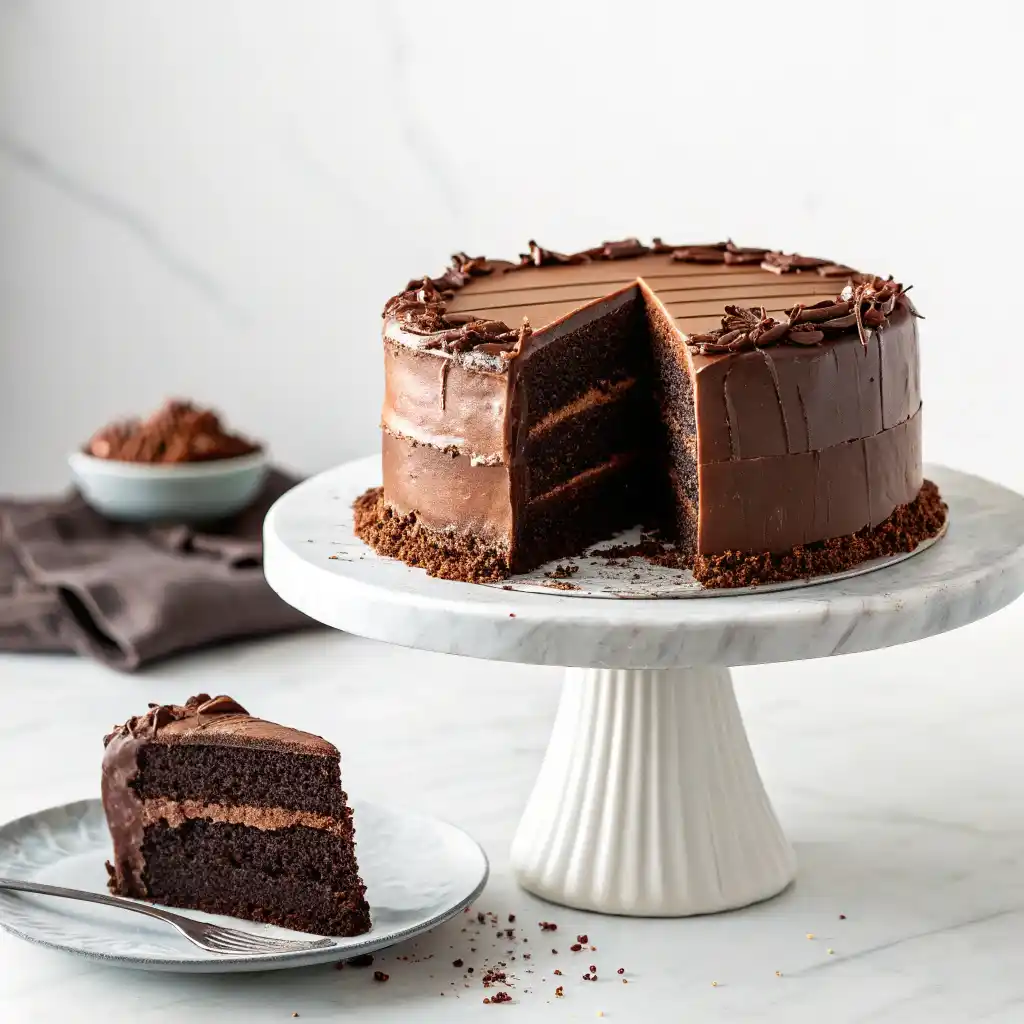
Key Ingredients for Your Matilda Cake
Crafting this magnificent Matilda cake requires a precise blend of ingredients for both the cake and its luxurious frosting. Each component plays a vital role in achieving that iconic texture and flavor.
For the Cake:
- 2 cups all-purpose flour (260g), sifted
- 1.5 tsp baking powder
- 1.5 tsp baking soda
- 1 cup granulated sugar (200g)
- ⅔ cup light brown sugar (135g)
- 1 tsp salt
- 3 large eggs, ideally room temp
- ⅔ cup vegetable oil (133g)
- ⅓ cup buttermilk (mix ⅓ cup whole milk (80g) + 1 tsp vinegar)
- 1 cup sour cream (240g), ideally room temp
- ¾ cup cocoa powder, Dutch Processed preferred (75g)
- 2 tsp instant coffee
- ¾ cup boiling water (180g)
For the Fudge Frosting:
- 300g dark chocolate
- 3 tbsp corn syrup
- 8 oz cream cheese, room temperature (226g)
- ⅓ cup cocoa powder (33g)
- 1 cup powdered sugar (100g)
- ¼ tsp salt
- 1¼ cup heavy cream, chilled
Notes & Substitutions: Using Dutch Processed cocoa powder is crucial for that deep, rich chocolate color and less bitter flavor profile. Buttermilk and sour cream contribute significantly to the cake’s moistness and tender crumb. The instant coffee doesn’t make the cake taste like coffee; it enhances and deepens the chocolate flavor beautifully. Room temperature eggs, sour cream, and cream cheese ensure a smooth batter and creamy frosting.
Essential Equipment for Baking This Matilda Cake
Having the right tools makes all the difference when baking. For this indulgent Matilda cake, you’ll need a few key pieces of equipment. Three 8-inch cake pans ensure even baking and perfect layers. Parchment paper and butter will prepare your pans for easy release. A whisk is essential for combining dry and wet ingredients smoothly. A stand mixer, fitted with a paddle attachment, simplifies making the rich fudge frosting, ensuring it’s perfectly creamy. Finally, a large serrated knife will help you level your cooled cake layers for a professional finish.
Step-by-Step Instructions to Craft Your Matilda Cake
Follow these precise steps to create your show-stopping Matilda cake. Each instruction is designed to guide you to a delicious, perfectly baked result.
Part 1: Making the Chocolate Cake Layers
- Preheat and Prepare Pans: Preheat your oven to 350°F (175°C) without the fan. Grease three 8-inch cake pans with butter and line the bottoms with parchment paper.
- Combine Dry Ingredients: In a large bowl, whisk together the sifted flour, baking powder, baking soda, granulated sugar, light brown sugar, and salt until no lumps remain.
- Mix Wet Ingredients: In a separate medium bowl, whisk the eggs, vegetable oil, buttermilk, and sour cream until smooth.
- Create the Batter: Add the dry ingredients to the wet ingredients in two batches. Gently fold until just combined. A few small lumps are acceptable; do not overmix.
- Bloom the Cocoa: In a small bowl, combine the cocoa powder and instant coffee. Pour the boiling water over the top and whisk until the mixture is smooth and shiny.
- Finish the Batter: Gently fold the hot cocoa mixture into the cake batter until you have a rich, evenly colored chocolate batter.
- Bake the Layers: Divide the batter evenly among the three prepared pans. Bake for 22–24 minutes, or until a toothpick inserted into the center comes out with moist crumbs attached.
- Cool the Cakes: Let the cakes cool in their pans for 20 minutes before carefully inverting them onto a wire rack to cool completely. For firmer layers, refrigerate the cooled cakes for at least 1 hour.
Part 2: Making the Fudge Frosting
- Melt the Chocolate: In a saucepan over the lowest possible heat, melt the dark chocolate and corn syrup, stirring constantly until smooth. Set aside to cool slightly.
- Prepare the Cream Cheese Base: In a stand mixer fitted with the paddle attachment, beat the room-temperature cream cheese. Sift in the cocoa powder, powdered sugar, and salt. Mix on medium speed for 1–2 minutes until creamy.
- Whip the Frosting: Add the chilled heavy cream and whisk on low speed until a fluffy, whipped consistency is achieved. Be careful not to overmix.
- Incorporate the Chocolate: While whisking on low speed, slowly pour the warm (not hot) melted chocolate into the frosting until fully combined.
- Cool the Frosting: Allow the frosting to cool and thicken at room temperature for about 30 minutes until it becomes spreadable.
Part 3: Assembling Your Matilda Cake
- Level the Cakes: Use a large serrated knife to carefully trim any domes off the cooled cake layers to create flat, even surfaces.
- Layer and Fill: Place the first cake layer on your serving platter and spread a generous amount of frosting over it. Repeat with the remaining layers.
- Apply a Crumb Coat: Cover the entire cake with a thin layer of frosting to seal in any loose crumbs. Refrigerate for 20 minutes to set.
- Frost the Cake: Apply the remaining frosting over the entire cake, creating a smooth or textured finish as you desire.
- Serve: For the best flavor and texture, serve this decadent cake at room temperature.
- Tip: For a beautiful shiny finish, gently wave a blow dryer set to its lowest setting about one foot away from the cake for a few seconds.
Pro Tips & Troubleshooting for Your Matilda Cake
Achieving a perfect Matilda cake is easier with a few expert insights. Don’t overmix your batter; overmixing develops gluten, leading to a tough, dry cake. Room temperature ingredients (eggs, sour cream, cream cheese) emulsify better, creating a smoother batter and frosting. Always cool your cakes completely before frosting to prevent melting.
For a truly professional finish, consider weighing your batter into each pan to ensure even layers, and use a cake leveler or a sharp serrated knife to trim domes after baking. If your cake turns out dry, ensure you’re not overbaking; test with a toothpick that shows moist crumbs, not liquid batter or completely clean. If frosting is too runny, chill it longer. For a sinking cake, check oven temperature calibration and avoid opening the oven door too early.
Serving, Storage, & Variations
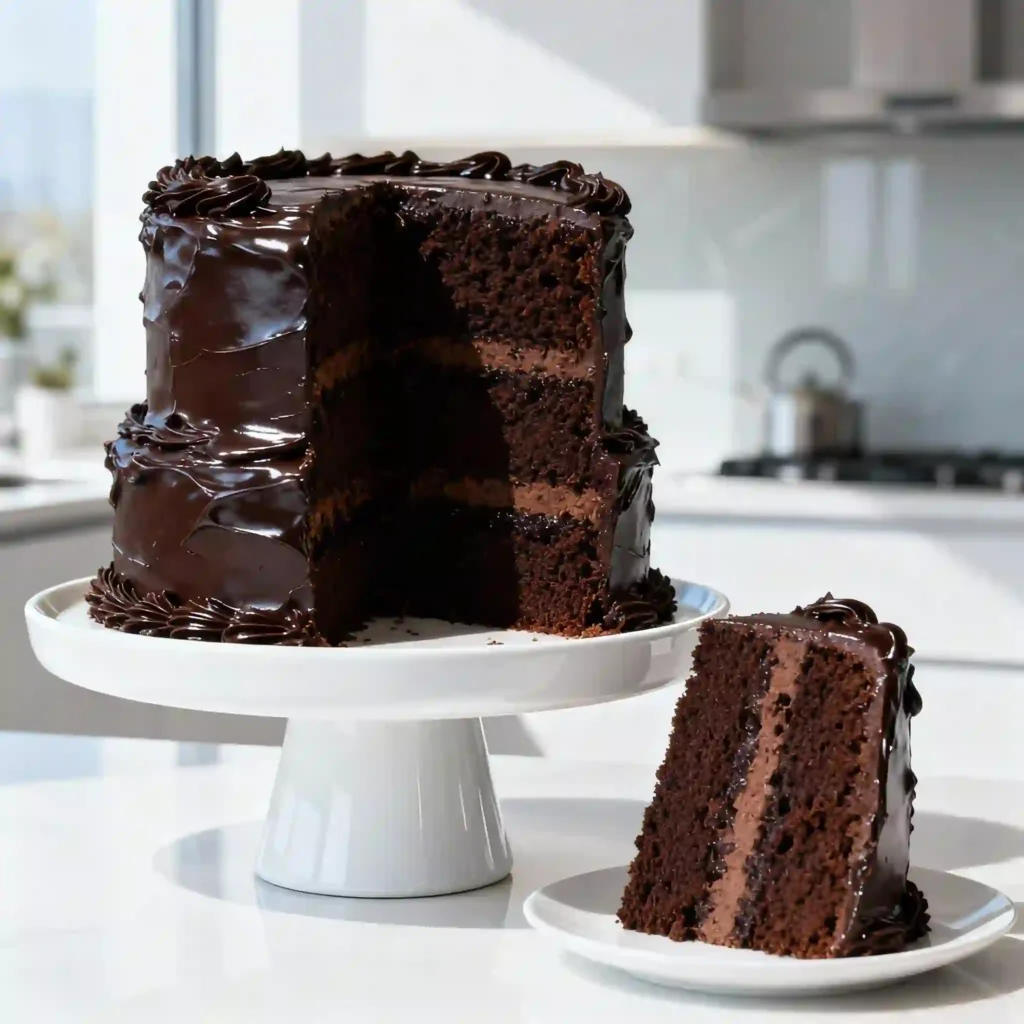
This impressive Matilda cake makes a fantastic centerpiece. Garnish it with chocolate shavings, fresh raspberries, or even a dusting of cocoa powder for an elegant touch. It pairs wonderfully with a cold glass of milk, a strong coffee, or even a dessert wine.
For storage, cover leftover cake tightly and keep it at room temperature for up to 2 days, or in the refrigerator for up to 5 days. You can also freeze individual slices, wrapped tightly in plastic wrap and then foil, for up to 2 months. Thaw frozen cake overnight in the refrigerator, then bring to room temperature before serving for the best texture.
For variations, consider adding a hint of almond or espresso extract to the batter for a flavor twist. You could also fold in chocolate chips or a swirl of caramel sauce for extra indulgence. To make the Matilda cake gluten-free, substitute a 1:1 gluten-free flour blend with xanthan gum. You might also enjoy exploring other delicious gluten-free recipes for breakfast. If you’re looking for a quick and easy dessert, you can always try a lazy no-bake cake recipe that requires minimal effort.
Nutrition Information
Enjoying a slice of this delectable Matilda cake is a special treat. Here’s an estimated nutritional breakdown per serving, based on 12 servings. Please note these are estimates and can vary based on specific ingredients and brands.
| Nutrient | Amount per Serving |
|---|---|
| Calories | 650 kcal |
| Total Fat | 40g |
| Saturated Fat | 20g |
| Cholesterol | 90mg |
| Sodium | 300mg |
| Total Carbohydrates | 70g |
| Dietary Fiber | 4g |
| Sugars | 50g |
| Protein | 8g |
Disclaimer: Estimates based on general ingredients; actual values may vary.
Frequently Asked Questions About Matilda Cake
Why is this called “Matilda cake?
This iconic chocolate cake gained its name from the beloved children’s movie “Matilda.” It’s a recreation of the enormous, fudgy cake Bruce Bogtrotter was famously forced to eat in the film.
Can I skip the instant coffee in the recipe?
While you can omit it, I strongly recommend keeping the instant coffee. It doesn’t make the Matilda cake taste like coffee; instead, it deepens and enhances the chocolate flavor beautifully, making it richer and more complex.
Is this cake very difficult for a beginner?
Not at all! This recipe is approachable for home bakers. With clear instructions and a few essential tips, anyone can create a stunning Matilda cake.
Can I make this as cupcakes instead?
Absolutely! Pour the batter into cupcake liners, filling them about two-thirds full. Bake for 18-22 minutes. Adjust baking time as needed for perfect chocolate cupcakes.
Conclusion
There’s truly nothing quite like baking a homemade Matilda cake. I hope you feel encouraged and excited to try this rich, fudgy, and absolutely delightful recipe. It’s a joyful journey from simple ingredients to an iconic dessert that brings smiles and a touch of movie magic to your table. Don’t be shy; share your beautiful creations! I love seeing what you bake. Leave a comment below, share your photos with me on social media, or ask any questions you might have. Happy baking!

